
In my (admittedly limited) experience, there’s a lot of variation between printer types, and even sometimes between printers, so it’s not too surprising - glad you got something that works!
had three printed on cloudcraft, black TPU came out fine, tried clear TPU but i guess i didn’t understand infill% and it came out pretty bad. 100% functional, but it is not clear at all and i get lots of comments that i need to add stones and other bling to it. do not recommend clear TPU.
1 Like
What percentage infill did you go with for your case? I was going to just buy one from the Teracube store, but they’re out of stock now. My original speckled case is beginning to fall apart after about 18 months, which is pretty good compared how little it held up for others.
I’ll may try the Craftcloud route like you did.
I did order a copy in TPU from Craftcloud after my original fell apart after ~14 months. I used 40% infill and it fits well, maybe a touch tight. It cost me ~$15 delivered (delivered from-to US). I would say my only quality concern is that occasionally a long strand of case will come peeling off, one of the outer extrusions, but this was more frequent when it was new. I’ve had it for over 2 months now, and it seems like it’s working.
<edit - clarified the delivery location>
Thank you, that’s very good to know. If Teracube doesn’t get stock soon, I’ll go the Craftcloud route.
We had a configuration issue in our store. Black and Green cases should be in stock now. If you don’t find them, please email us.
I just wanted to update this post to say how much better the redesigned case is. As others have said, it fits more snugly. It’s easier to grip and feels great in the hand. It cost me about $25 with shipping to get it, but I think it’s money well spent. I don’t think I’d have gotten better quality and utility for less money going the 3D printing route. It likely will have cost more to get an inferior result, in my opinion.
If you’re on the fence about getting a new case, buying the redesigned case is the way to go.
1 Like
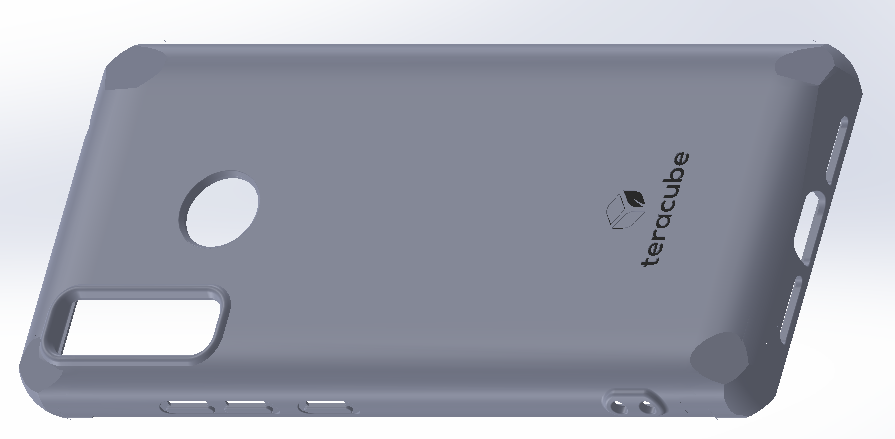
Hi, kind of a weird ask, but I was wondering if you had the case in a format editable by CAD software (SolidWorks, Fusion 360, Creo, etc.). I keep my phone in my pocket and have noticed that the corner protrusions (while aesthetic and giving more corner protection) are causing more rapid wearing-out of my pockets. If I had the original design file, I could alter the features and make a smooth case. Is that possible?
EDIT: If I were successful, I’d be happy to share the design with the community in case anyone else would prefer it.
2 Likes
Greetings!
We would definitely be interested to see what you come up with.
2e-case-cad.stp (10.7 MB)
1 Like
Thanks, Robert, but I have the .stp file. The .stp file is not editable in the same way I’m talking about. By the time it’s an .stp file, the design is basically a skin made out of 2D geometries (mostly triangles and quadralaterals), and difficult to edit in any meaningful way. In a program like solidworks, however, the protrusions would probably have been created by an extrusion function that can be applied to a defined areas of the corner surface to create the feature. With a .sldprt file, for example, in SolidWorks, I could simply undo the feature by editing or undoing the application of the extrusion function. It would be similar in Creo or Fusion 360.
Edit: so what I’m after is actually what was used to create the .stp file. Sometimes this is proprietary, though, so I understand if it’s not available, just thought I’d ask.
1 Like
Would it be possible to have the file in another format, like STL?
1 Like
Here is the .stl file from solidworks import of the .stp file, it should be just the same.
I’ve also completed a Solidworks modification of this file that removes the corner “bumpers” as I described. It’s more of a kludge than I could have accomplished with the original design file, but hopefully it will be easier on my pockets. I’ve ordered one, but don’t want to post the file until I know it prints something useable.
2 Likes
Thanks, I think I’ll wait for the new version so if it works I’ll just use that one, thanks for the stl file nonetheless
1 Like
This is what the case without bumpers should look like when printed. I was mostly able to use the contours of the main case to “cut” the bumpers off, but was left with some corners that I had to “plane” off (the flat faces). I also increased the size by 1% because the current Craftcloud case was very tight.
1 Like
I got my case without the bumpers yesterday, and it seems fine so far. I had increased the size by 1% and I can now get the case on and off without taking the back off of the phone. The .stl file is here. I used Craftcloud to print in black TPU with 20% infill this time. The “planed off” corners are evident, but not as obvious as I’d feared. With the “grain” of the printing, it looks better, I think.

4 Likes
Awesome, I’m gonna get mine printed 
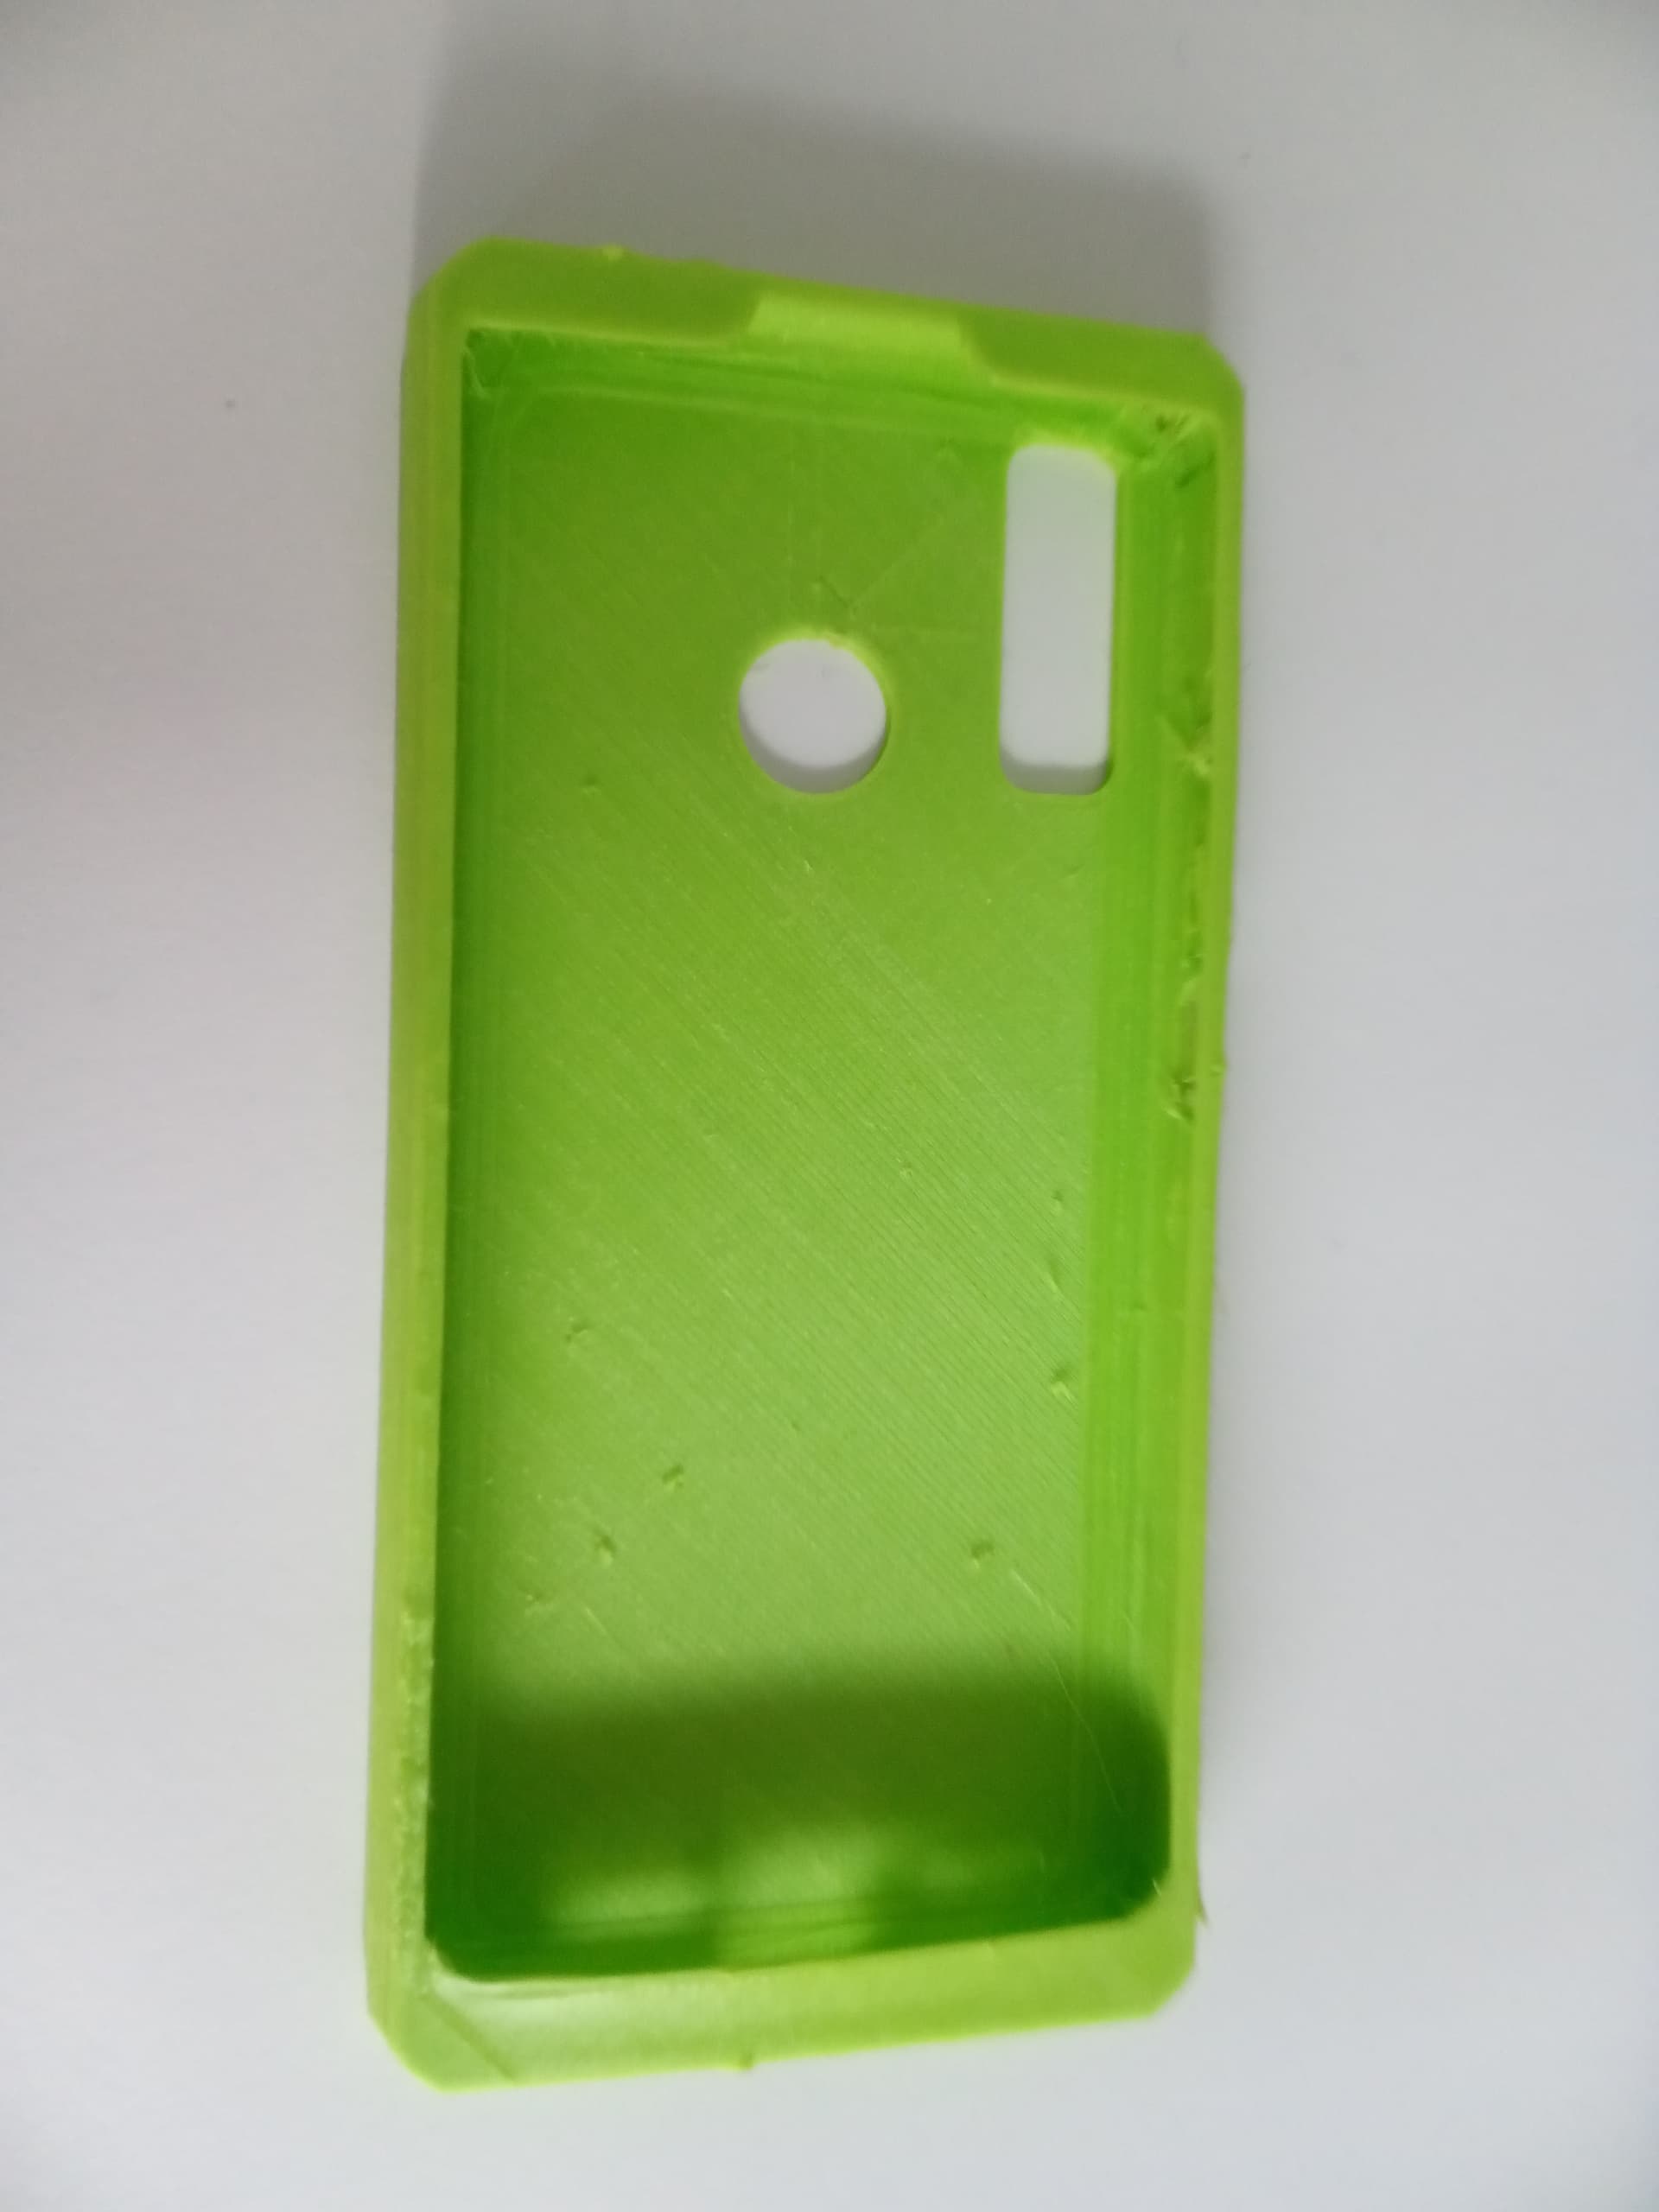

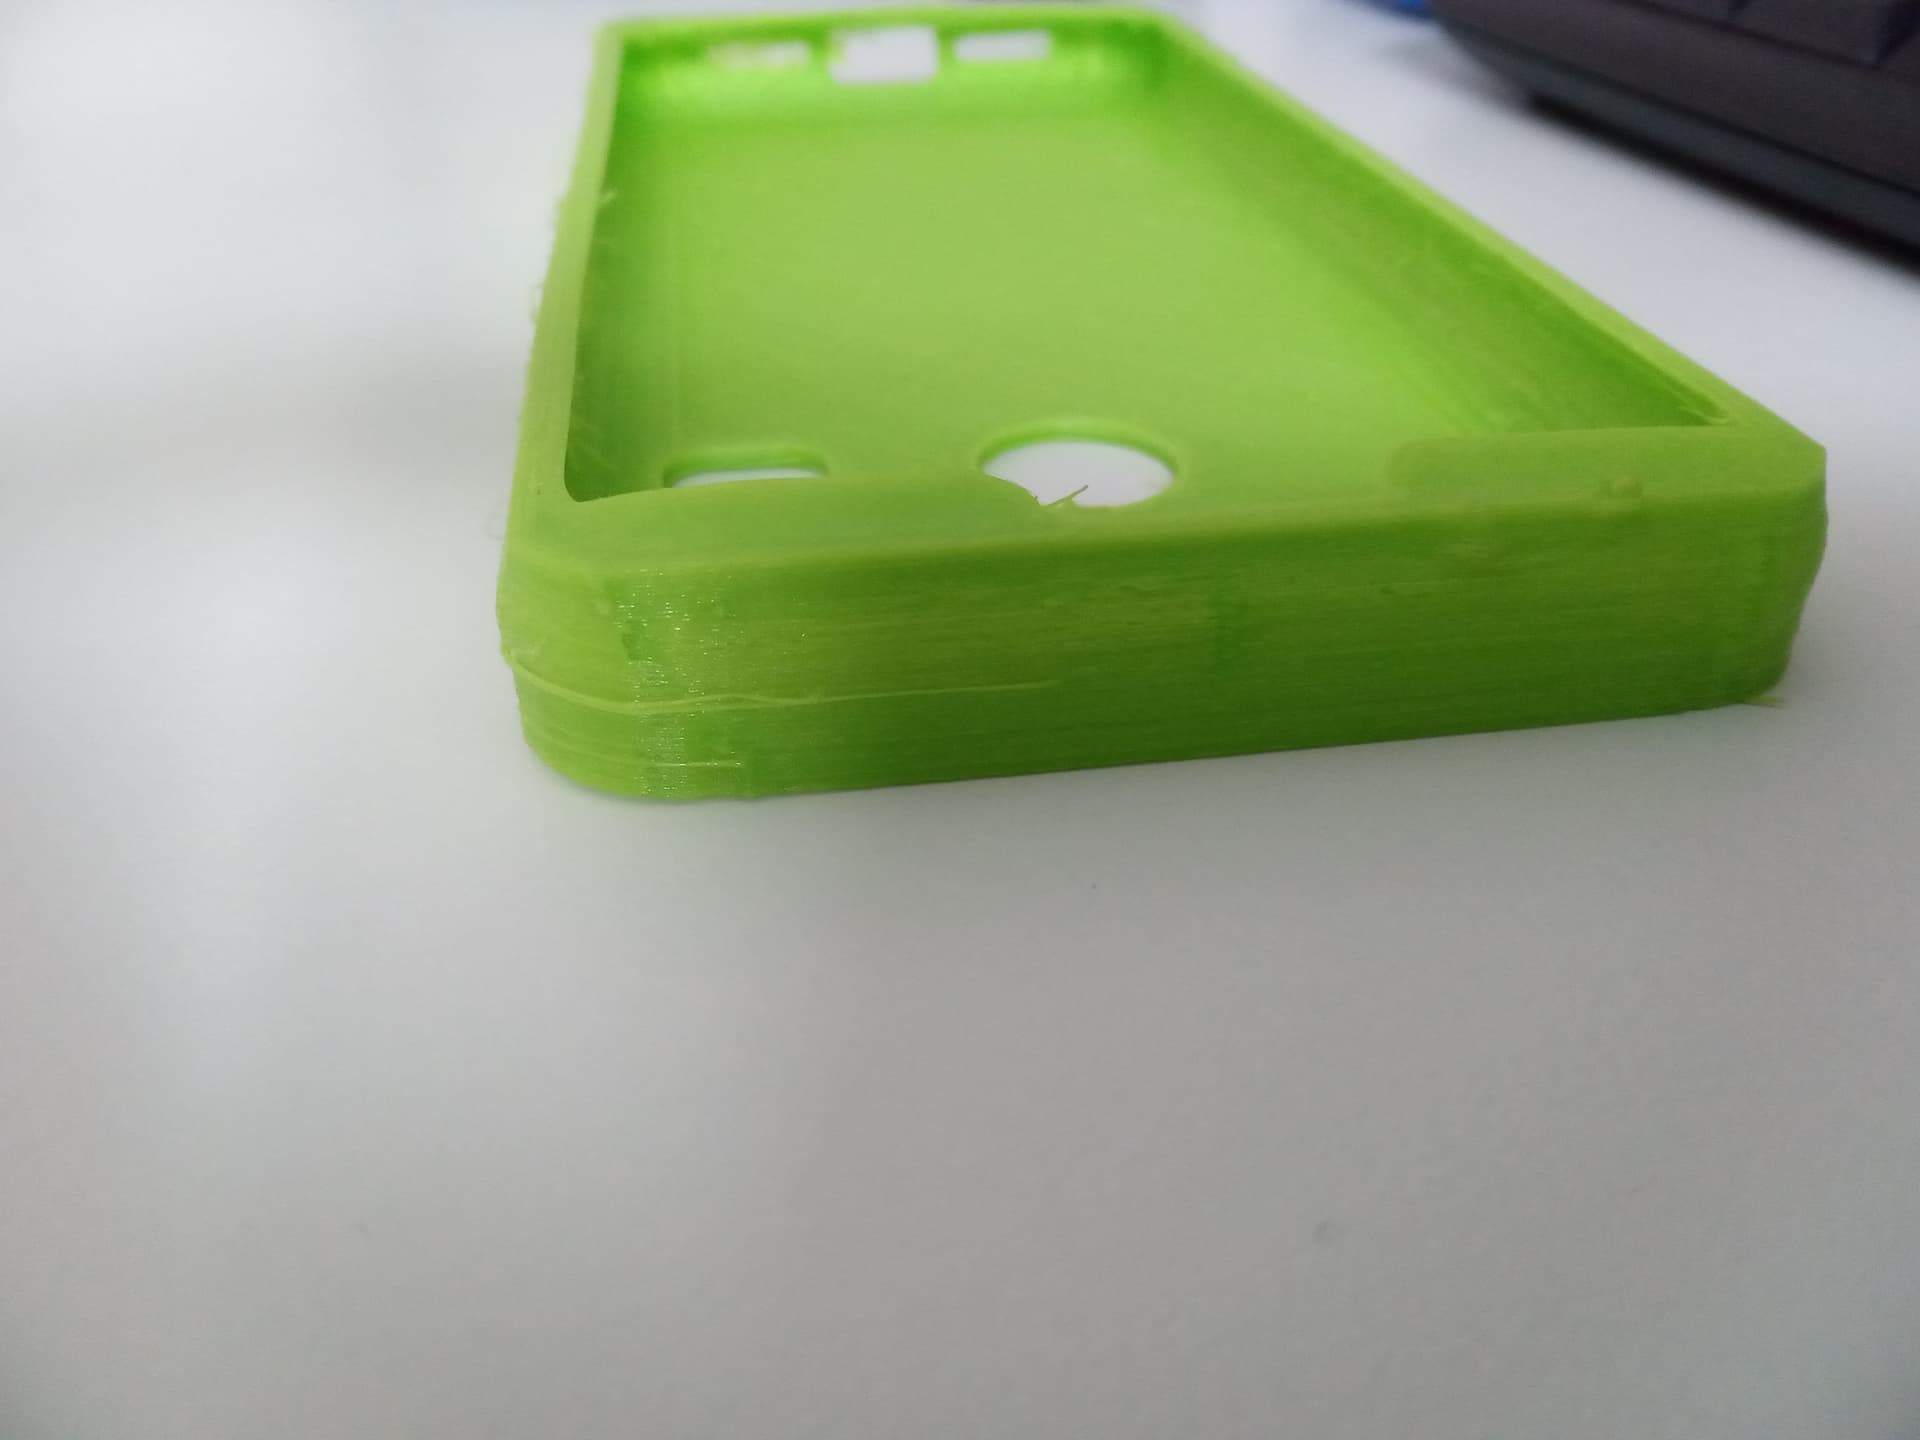
Hi there, my 2 original cases have been thrown in the trash… and now I have my own green 3D-printed case!
I am already at version 3; I edited the Teracube STL in Tinkercad.
If anyone is interested, I can post it here. (without my logo of course)
Version 4 needed because, some things don’t feel right yet.
Gonna try to post a picture with the phone in the case, then.
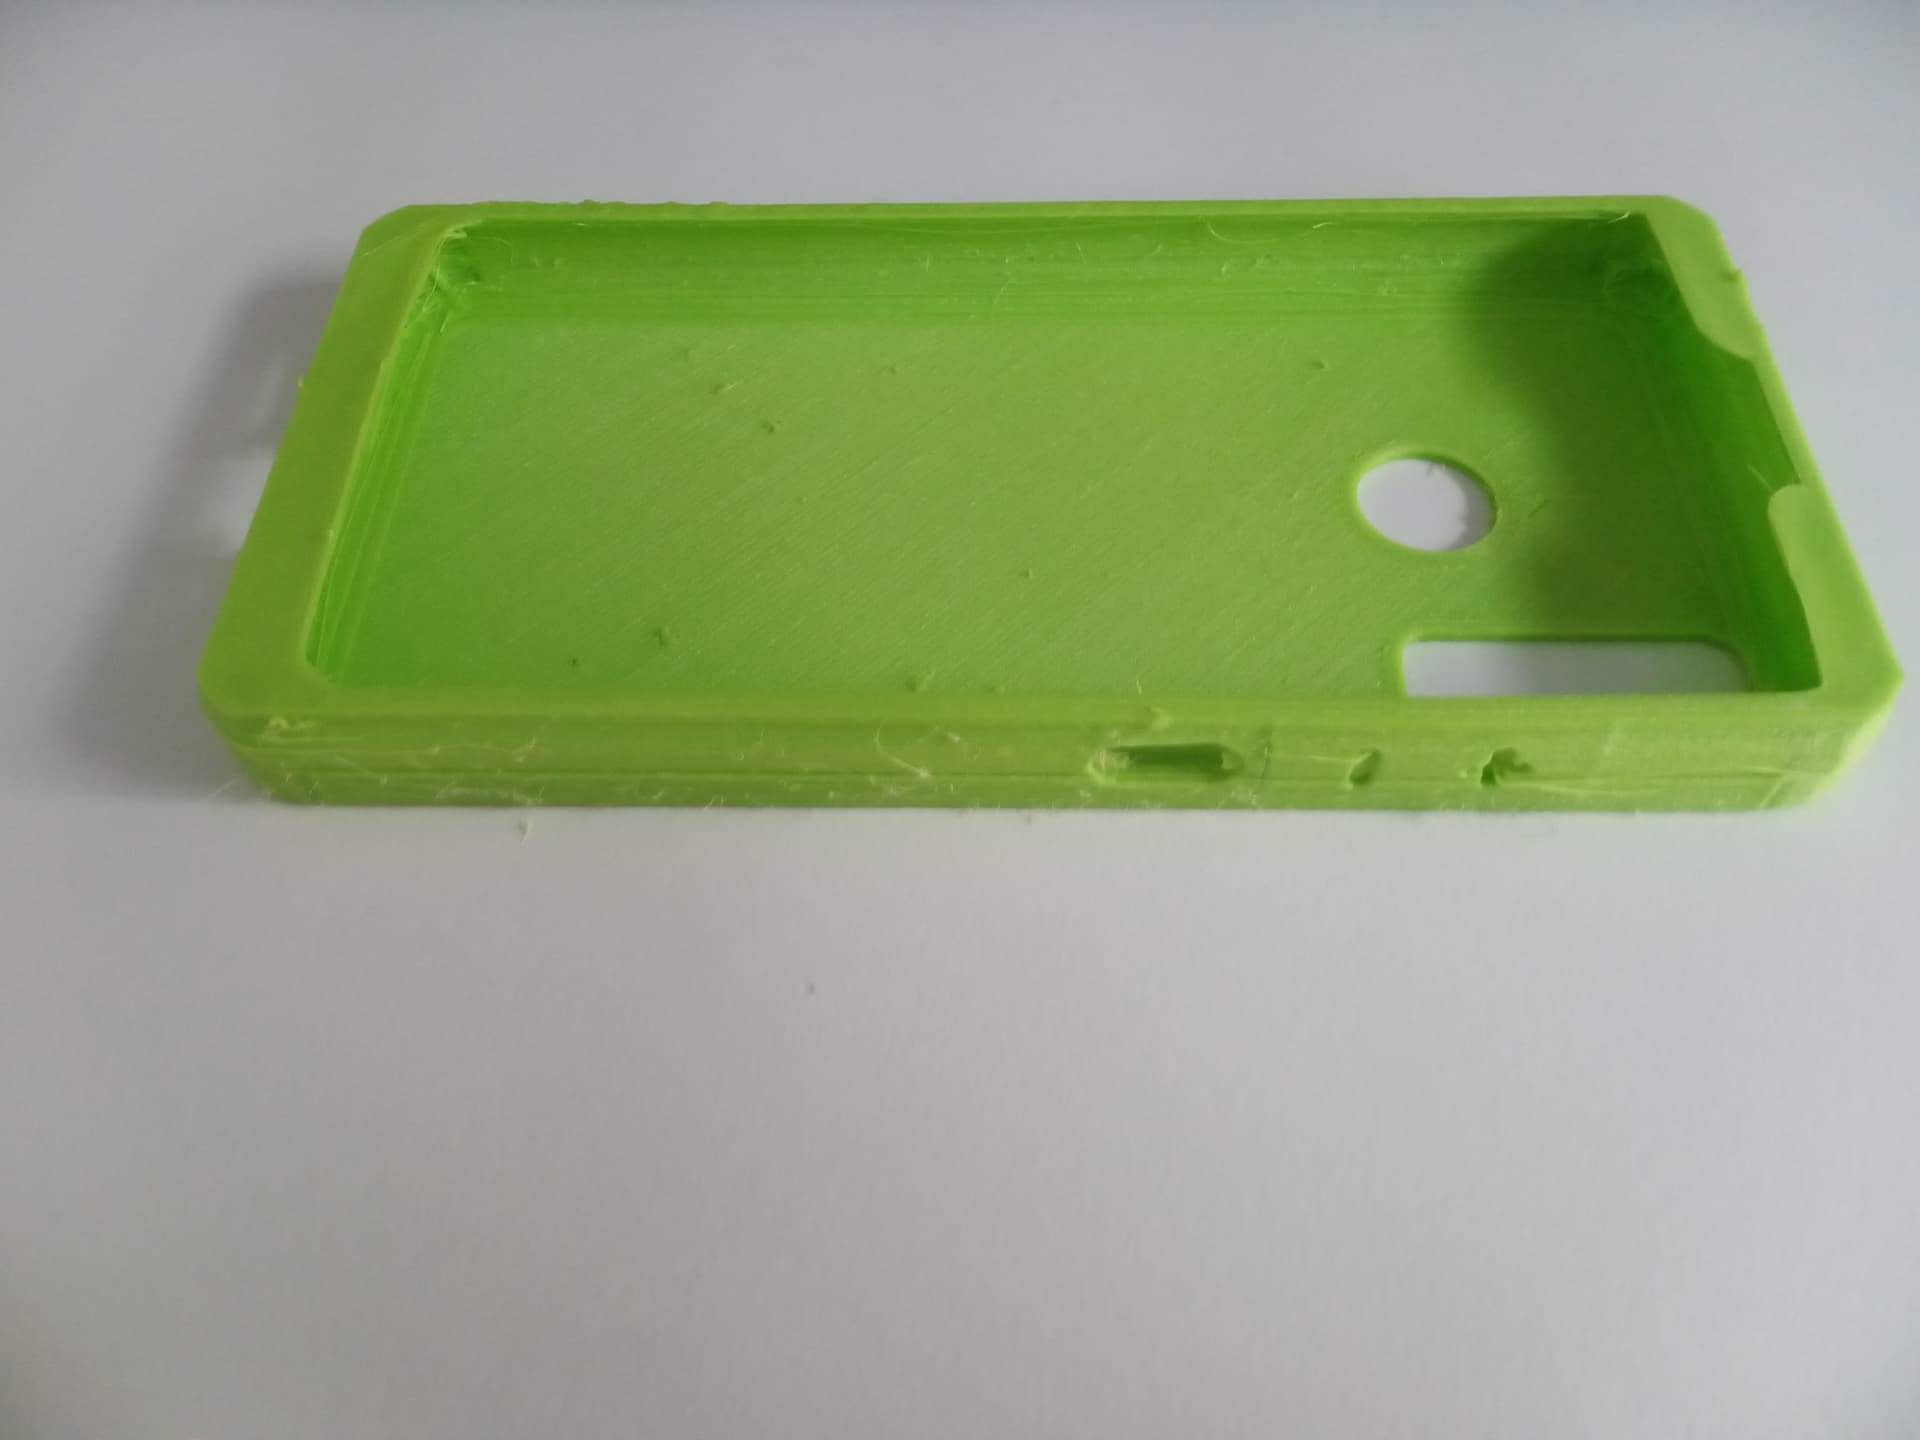
- I added extra borders, because the filament is pretty flexible.
- Also, the right top border acts as a light blocker for the battery light.
- I made the charging hole a bit bigger for my charger.
- I changed the power/volume buttons for better tactile control (as in, feeling what button is which)
- Straight walls for better printing (now too straight, there is room to let the wall slant a bit)
- I’m going to tidy up the space between te original wall and new wall, it seems to give some grip when I put the phone against a wall (not fully closing it, else it seems too bland)
- I deleted some relief that made 3D-printing it more difficult, I added some extra height in the top inner walls. (I try to cover as much bezel as possible)
- I deleted the 3.5mm jack, but can always be added with a soldering iron. #Easy3D
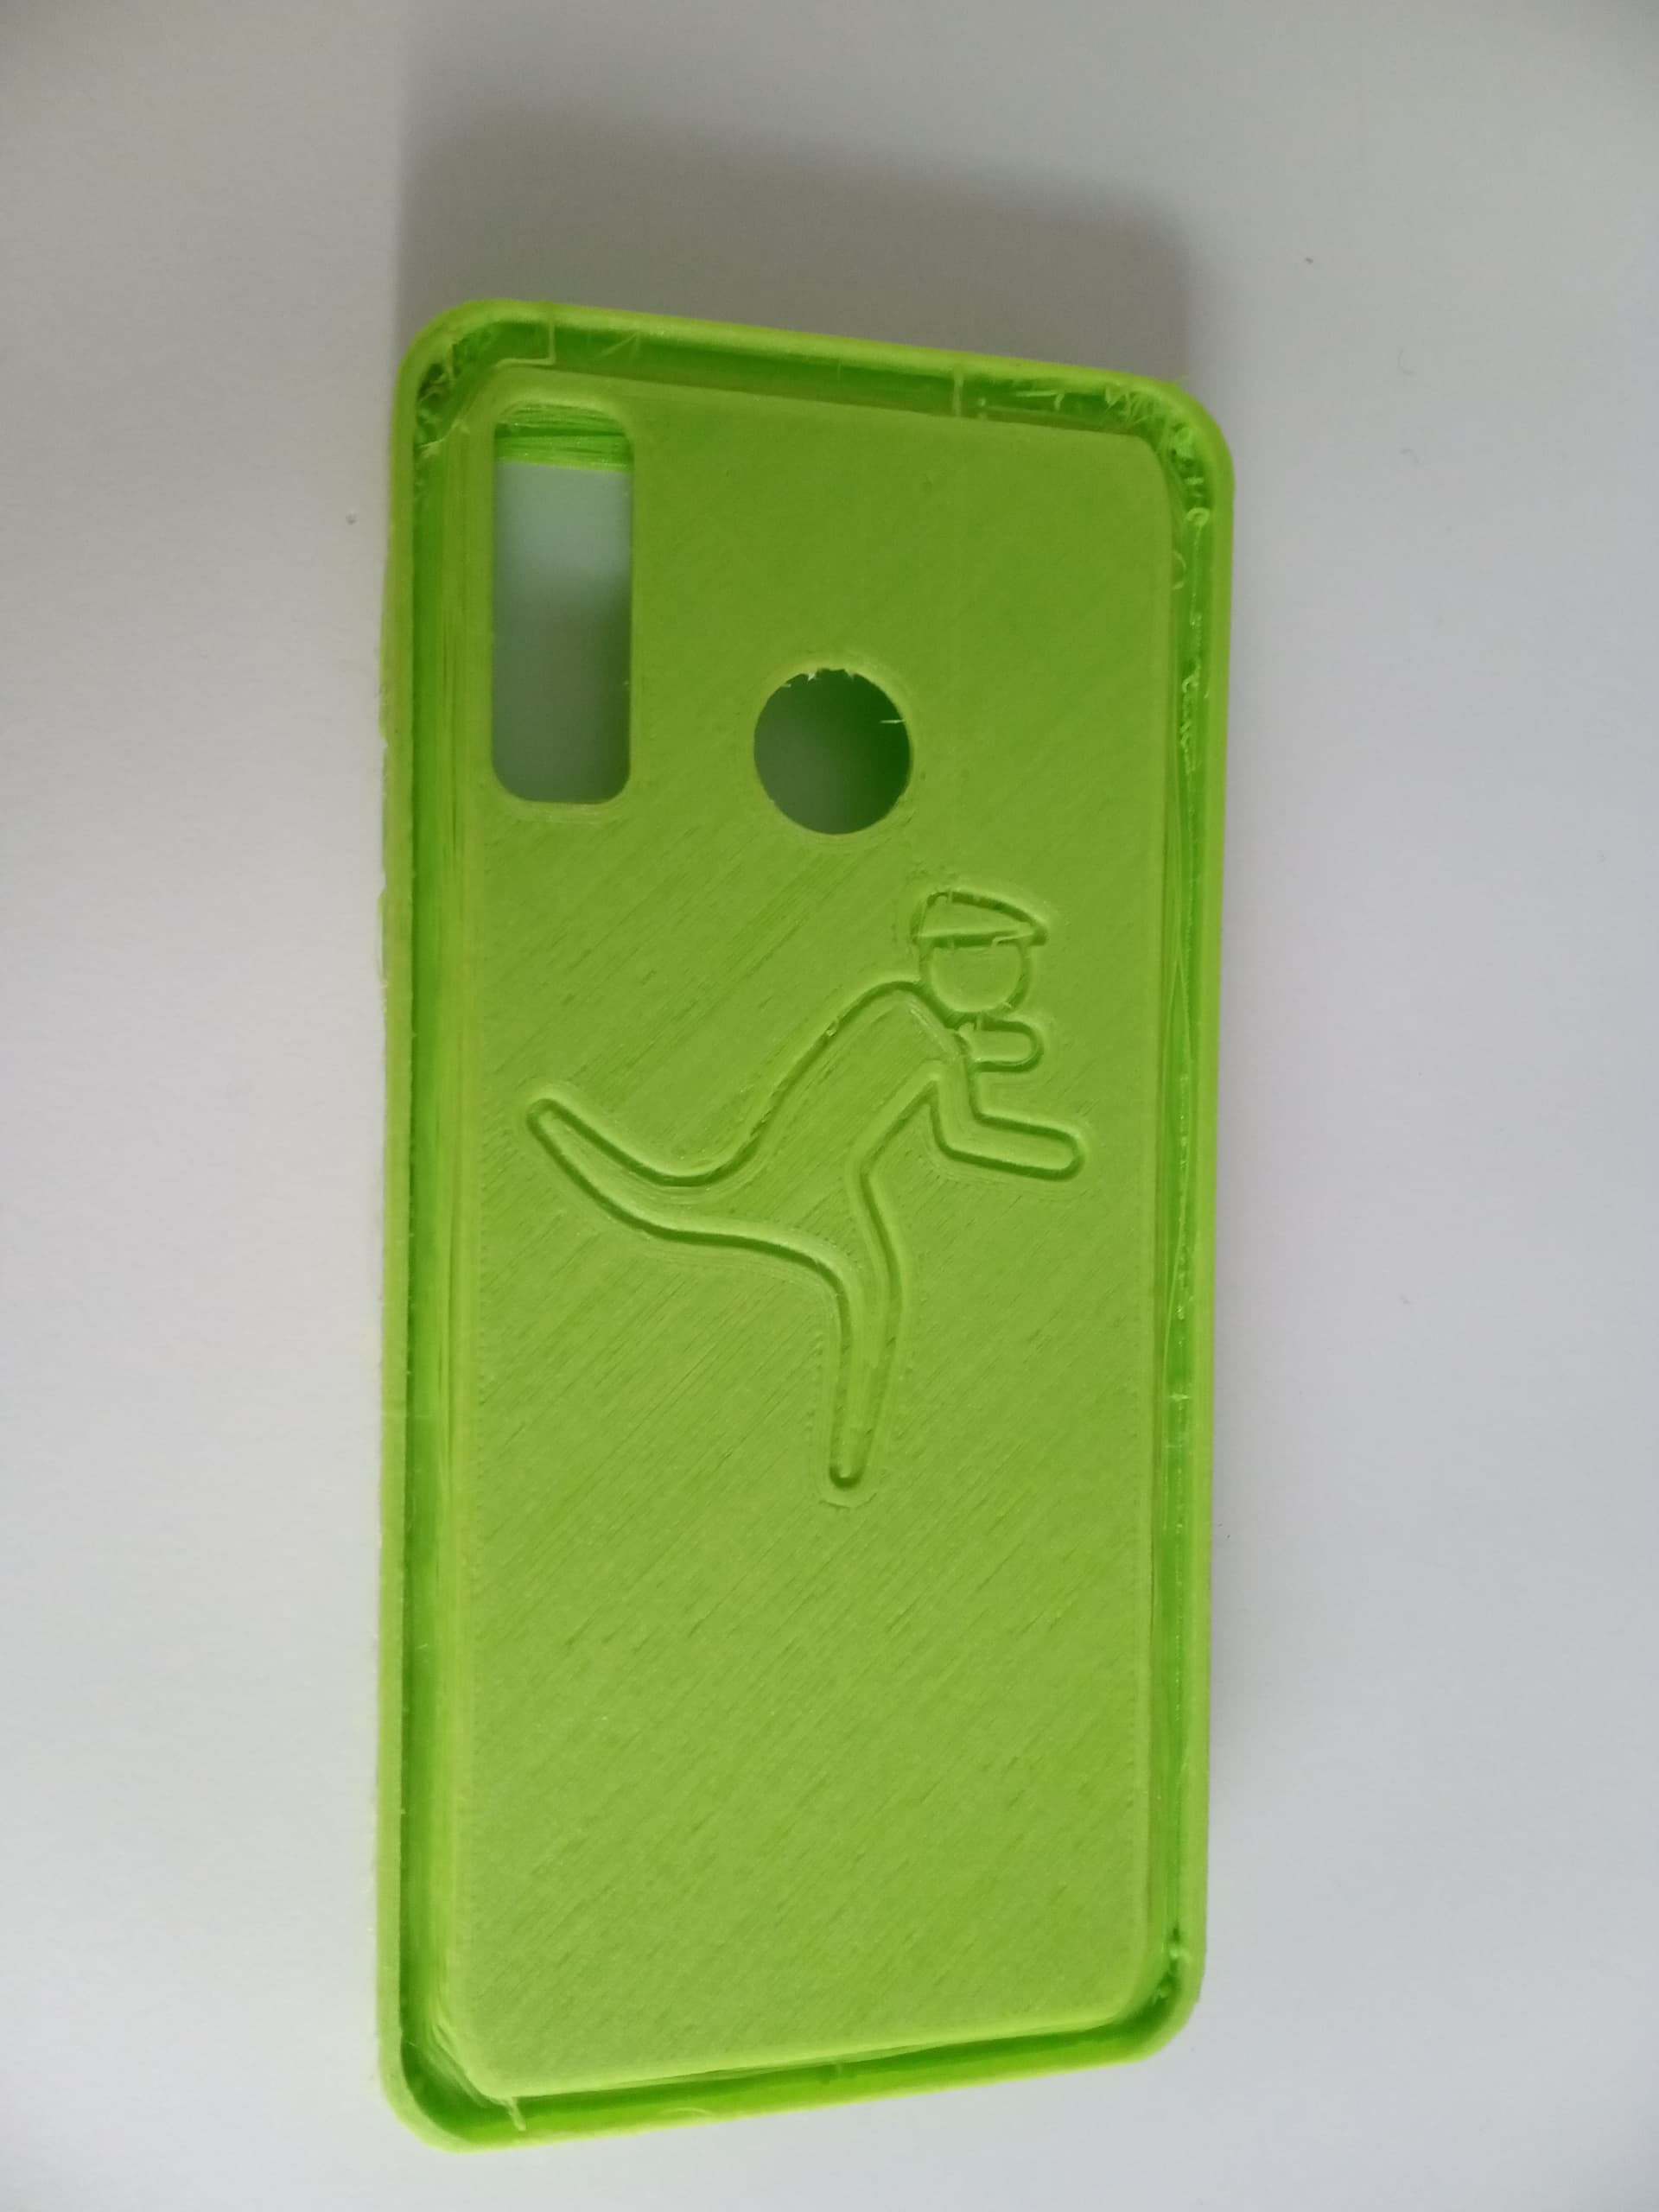
- I added 1mm to the bottom (I added my own logo, 0.8mm thick, as a line so 3D printing layers on top would not have interference).
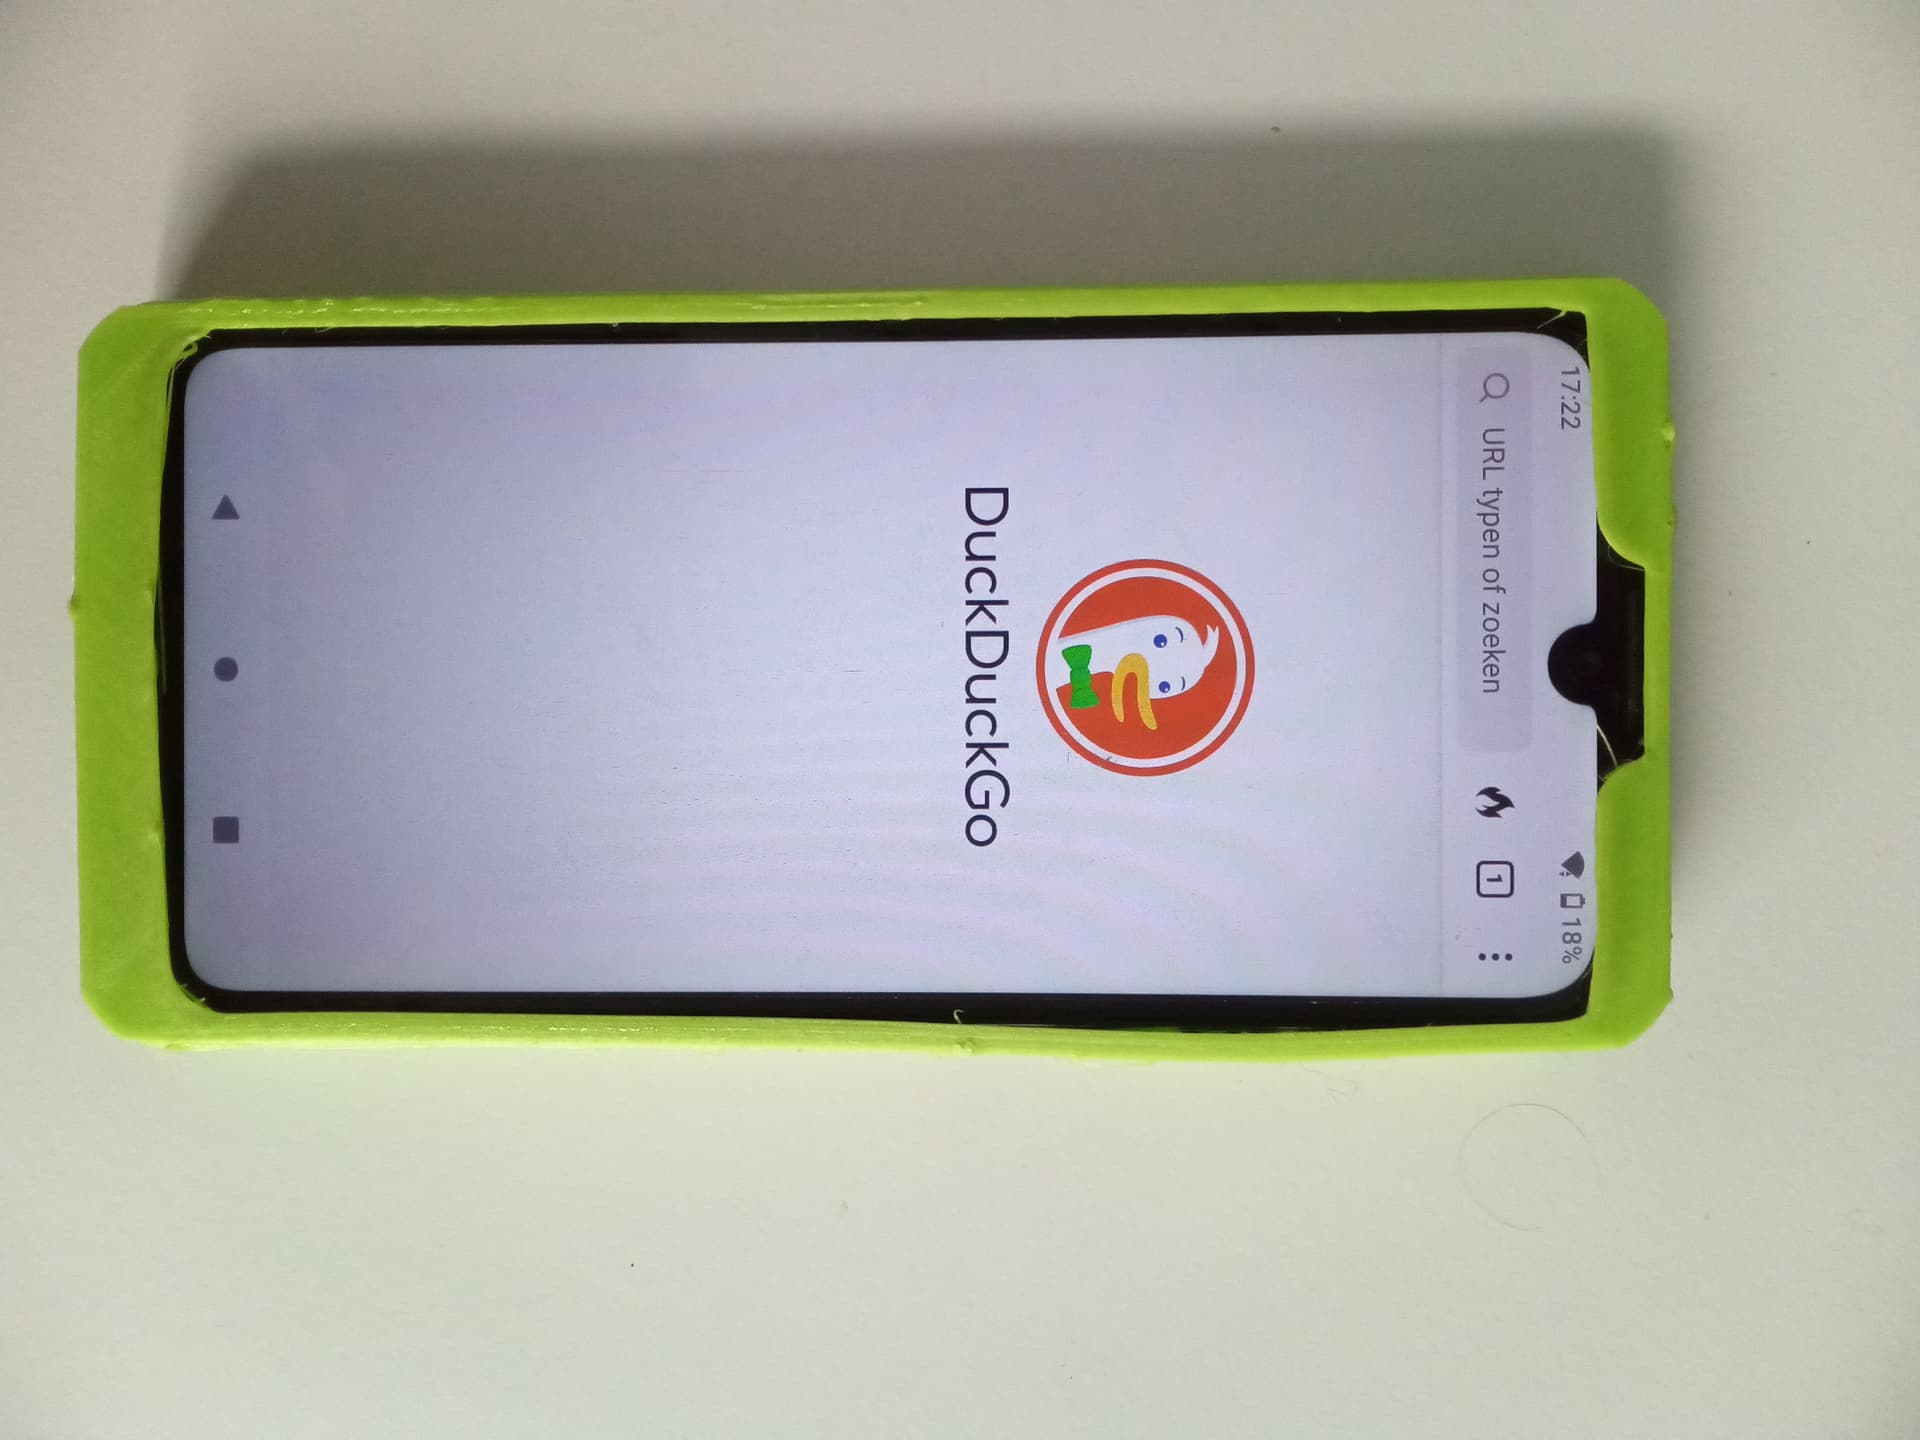
Edit; I just popped my other T2e in the case and took a picture  .
.
1 Like
Here I am just sharing my tinkercad of my case. Was thinking about removing my logo, but since it it isn’t of purpose anymore, it’s there as an example. Happy tinkering!
2 Likes